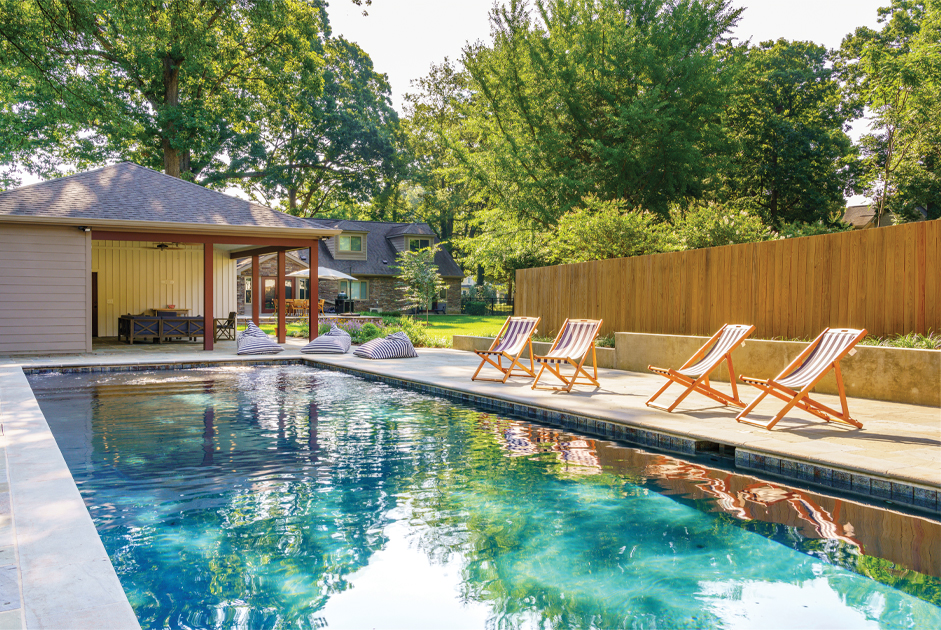
For thousands of years, humans forced or moved one of Earth’s most plentiful resources – rocks were the means to change our standard of living. Curiosity, trial, and invention created cement, building materials, a statue, or an attraction. Across time, individuals had the titles of builder or architect, landscaper or artist; today, those titles suit the homeowner, who continues to seek ways to use rocks and stones purposefully. In the season of outdoor projects, you may be looking for a decorating, eye-catching idea to add to your yard or garden. The answer may be in rocks and stones!
What is the Difference Between a Rock and a Stone?
The cohesion of solidified minerals such as quartz, feldspar, mica, amphibole, olivine, and calcite that form a mass is a rock. Although the words themselves are interchangeable, rocks can be rough and smooth; but only a stone can fit inside a pocket.
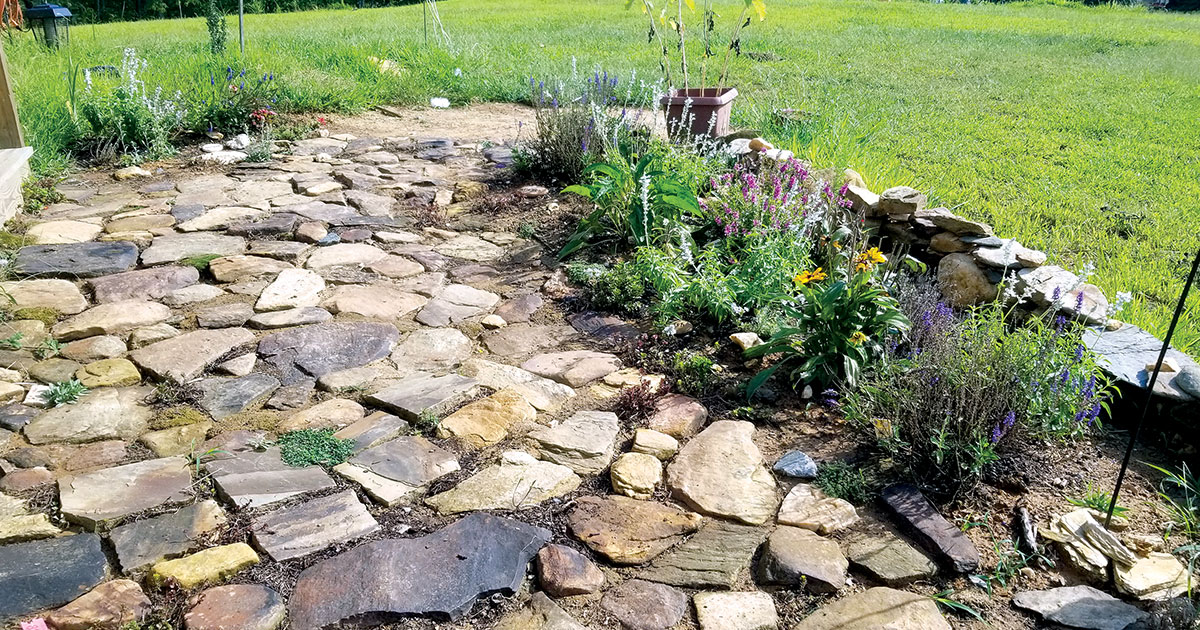
Rock Pathways
Similar to the shapes of clouds, rocks and stones catch our attention. We happen upon them in our wanderings, and discover once in a while, the coloring or form is the only reason needed to transfer it home. You, too, may be a collector of stones. When a few rocks become a pile, one solution is to create a pathway.
Tips: Organize your stones into piles according to thickness. Consider whether you want a natural pathway covered with moss and other types of creeping perennials, or one secured in concrete. Ensure the dirt is removed well below the grass line and leveled flat. Add a layer of rocks to encourage drainage before placing handfuls of soil on top before adding each stone. Creeping perennials need very little depth and water. Choose the most massive stones for your pathway and smaller stones for decoration.
The Stone Wall
The dry stacked stone wall is both a successful and attractive building technique. While it does not take a professional to level the ground, add a bottom layer of small stones, and begin the task of layering two similar-sized flat rocks for a thickened solid wall. The total number required may change your overall dimensions.
Tips: How-to-videos will assist in offering useful tips in preparing the wall, needed and helpful tools, maintaining a straight line, and stacking advice.
The Dry Creek
An accumulated amount of small to semi-heavy stones can comprise a decorative design in your yard, especially for areas of barrenness or where drainage is needed. By planting perennials to suit either drought or wet locations, you will add splashes of color.
Tips: Before starting, consider the width and the depth of your creek. A broad “u-shape” is best, lined with thick plastic sheets. Test your creek by watching a bucket of water flow over the rocks. Low areas may change your desired course unless you alter the depth of the creek bed to force the flow in a different direction. A dry creek can incorporate striking features such as a small pond, waterfalls, or a design of “S-curves.” Plan well!
Tower of Rocks
Stacking objects in a conical form is a natural curiosity. From an early age, children test their ability to balance and use hand-eye coordination to counterbalance stones. You, too, can create a tower of rocks with the aid of a drill, a rod of rebar, and a diverse grouping of stones. As a decoration, the structure could be a simple attraction in a flower garden,

The Personalized Rock Picture
Large rectangular stone chards with one perfectly round and flat stone comprise the pieces to create a picture of the sun. You, too, may have segments in hopes of creating a dragonfly, footprints, a letter, or number. Arranging the rock pieces among other stones or in concrete are two options.
Stepping Stone Instructions: With a handsaw or circular saw, cut a 12” diameter and 2” thick from a concrete building tube. Pour concrete until it reaches ¾ full within the mold. Use a trowel to smooth and eliminate air bubbles. Quickly transfer the design picture starting from the center and working outward. With a plastic drop cloth, cover the stones for 24 hours; then, remove the mold to allow the concrete a week to cure before arranging the stepping stones in the garden.
From small to large projects, this spring and summer, you can begin investing time in building with an amazing resource, rocks and stone!